How to Build Vertical Reach Organizers for Wheelchair Users: 12 Accessible, Space‑Saving DIY Ideas
Introduction
Creating vertical reach organizers empowers wheelchair users to store personal items within easy reach while preserving valuable floor space. This guide explains twelve distinct projects, each designed to be low‑cost, adaptable, and straightforward to assemble. Readers will learn how to select appropriate materials, apply simple construction techniques, and integrate recommended tools that enhance durability and aesthetic appeal. By the end of the guide, one will possess a portfolio of functional organizers that improve independence and reduce clutter in any living environment.
What You’ll Need
The following materials are common to most projects. Additional items are listed within individual steps where they add specific value.
- Wooden dowels or PVC pipes (1‑inch diameter, various lengths)
- Adjustable brackets and wall anchors
- Heavy‑duty Velcro straps
- Fabric or canvas panels for pockets
- Clear acrylic sheets for visibility
- Hook and loop fasteners
- Basic hand tools: drill, screwdriver, level, measuring tape
- Optional decorative tools: Friendship Bracelet String Kit and Diamond Painting Storage Box
Step 1: Assess the Space and Identify Frequently Used Items
Begin by measuring the vertical clearance above the wheelchair seat, typically ranging from 24 to 36 inches. Record the height of the wheelchair backrest and note any obstacles such as ceiling fans or light fixtures. Next, list the items that the user reaches for most often—medication bottles, a phone, glasses, and writing utensils are common examples. This assessment informs the height, depth, and number of compartments required for each organizer.
Why this matters: Accurate measurements prevent the need for later adjustments, and a clear inventory ensures that each compartment serves a purpose, eliminating wasted space.
Step 2: Choose a Structural Framework
Select a framework that matches the measured height. Wooden dowels provide a warm aesthetic, while PVC pipes offer lightweight durability. For a cost‑effective solution, purchase a set of 1‑inch PVC pipe sections and connect them with slip‑on couplers. Secure the base to the floor using rubber pads to prevent movement when the wheelchair shifts.
Alternative: If the user prefers a natural look, use reclaimed hardwood dowels and finish them with a clear sealant.
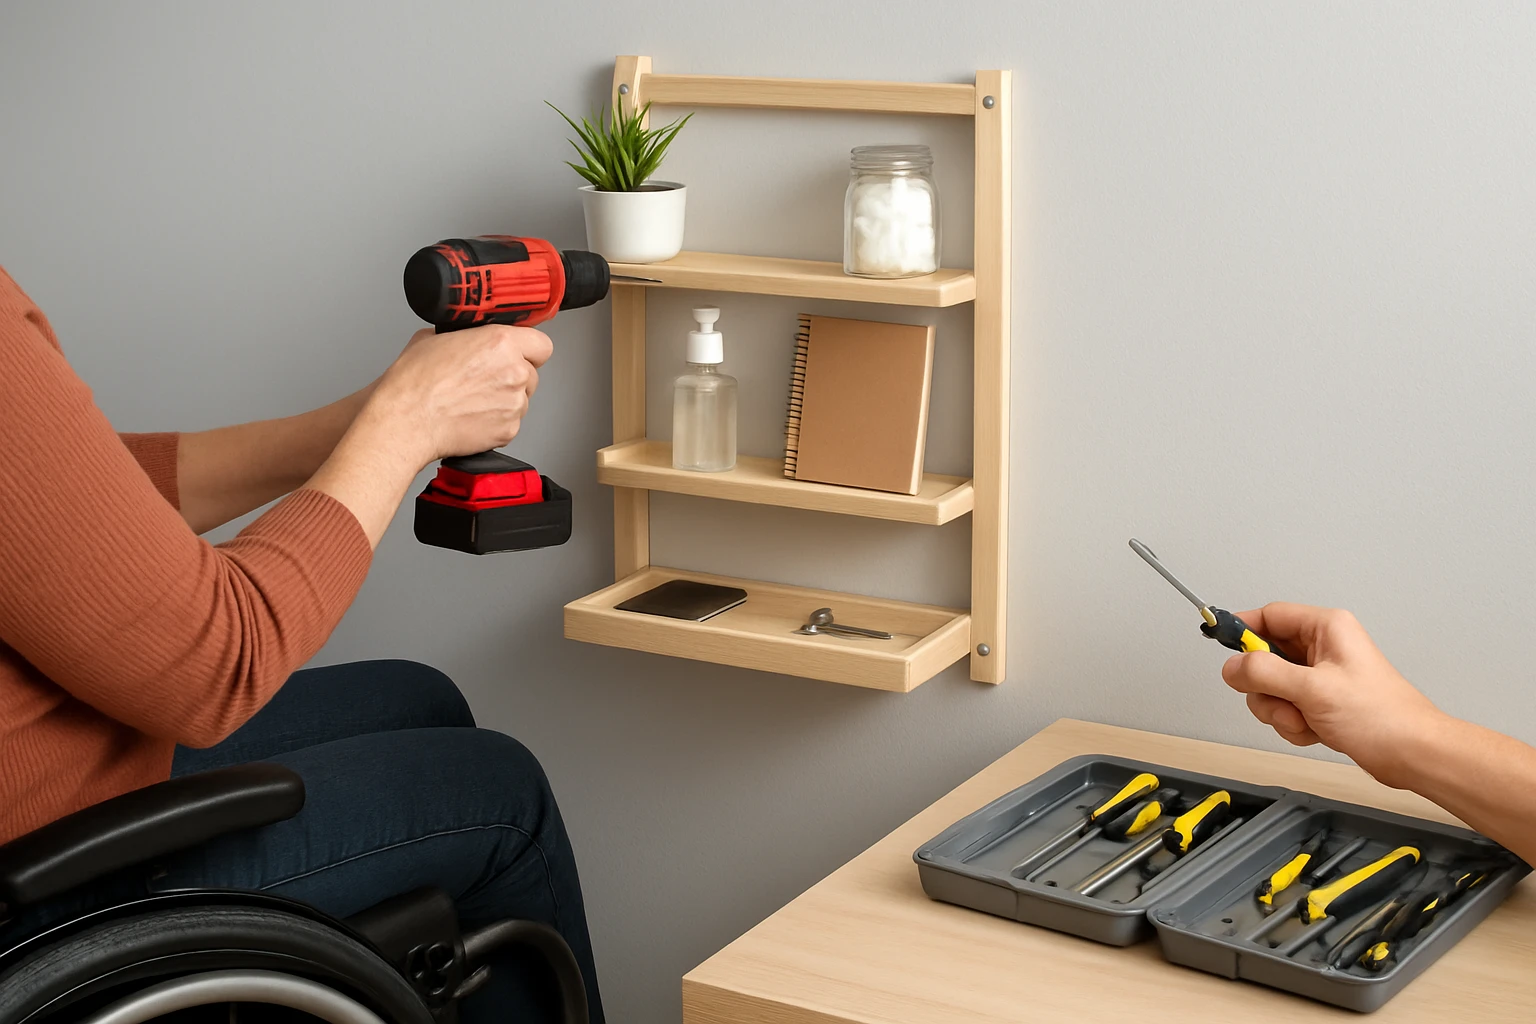
Step 3: Install Wall‑Mounted Brackets
Mark the wall at the desired height, ensuring the line is level. Drill pilot holes and insert wall anchors appropriate for the wall type (drywall, plaster, or concrete). Attach adjustable brackets that can slide along the vertical pipe, allowing future repositioning. Tighten all fasteners securely.
Why brackets are essential: They distribute the weight of the organizer evenly, reducing strain on the pipe and preventing sagging over time.
Step 4: Create Pocket Panels Using Fabric
Cut canvas or heavy‑weight fabric into rectangles measuring 12 inches wide by 8 inches tall. Hem the edges to prevent fraying. Sew reinforced pockets onto each panel using a heavy‑duty thread. Attach the panels to the vertical pipe with sturdy hooks that slide onto the brackets.
Tip: Use contrasting colors for each pocket to aid visual identification, especially for users with limited peripheral vision.
Step 5: Add a Decorative and Functional Ribbon System
Integrate the Friendship Bracelet String Kit to create colorful ribbon loops that double as grab handles. Each skein provides 8 meters of 100% polyester thread, offering a glossy, smooth finish that resists tangling. Cut lengths of 30 cm, braid them, and attach the braids to the side of each pocket using small eyelets.
Why use this kit: The pre‑wound threads eliminate the need for separate spooling, and the vibrant color palette adds a personalized, uplifting touch to the organizer.
Step 6: Incorporate Clear Acrylic Compartments for Small Items
Measure and cut acrylic sheets into shallow trays measuring 6 × 6 × 2 inches. Drill a single hole at the back of each tray and insert a small screw that fits into the vertical pipe’s brackets. Stack the trays vertically, securing each with a bracket clip.
Benefit: Clear trays allow the user to see contents at a glance, reducing the time spent searching for small objects such as pills or USB drives.
Step 7: Build a Fold‑Down Shelf for Larger Items
Cut a 12 × 10‑inch piece of plywood and sand the edges smooth. Attach two hinges to the back edge, allowing the shelf to fold upward against the vertical pipe when not in use. Install a magnetic catch to hold the shelf in the lowered position.
Purpose: The fold‑down shelf provides temporary surface area for items like a water bottle or a tablet, then tucks away to maintain a streamlined profile.
Step 8: Attach a Customizable Diamond‑Patterned Panel
Utilize the Diamond Painting Storage Box as an artistic backdrop for the organizer. The kit includes a pre‑printed floral pattern and sparkling rhinestones. Follow the instructions to affix the completed panel to the upper section of the vertical pipe using double‑sided adhesive.
Advantages: The diamond‑painted panel serves as a visually stimulating focal point, encouraging the user to engage with the organizer and providing a sense of accomplishment upon completion.
Step 9: Secure Velcro Straps for Adjustable Bins
Wrap heavy‑duty Velcro straps around the lower portion of the pipe and attach small fabric bins using loop‑side Velcro. The bins can be moved up or down as the user’s needs change. Ensure the straps are tightened firmly but allow enough slack for easy adjustment.
Reasoning: Adjustable bins accommodate growth in the user’s collection of accessories, preventing the need for a complete rebuild.
Step 10: Install a Pull‑Down Lighting Feature
Mount a battery‑operated LED strip along the interior of the vertical pipe, using adhesive backing. Connect the strip to a small push‑button switch placed on the lower bracket. When the user pulls the organizer down, the LED lights illuminate the contents.
Impact: Enhanced lighting reduces eye strain and assists users with visual impairments in locating items quickly.
Step 11: Add a Safety Stop Mechanism
Attach a rubber bumper at the bottom of the vertical pipe to prevent accidental collision with the wheelchair wheels. Use self‑adhesive rubber pads, positioning them so that the bumper aligns with the wheel’s outer edge when the organizer is fully extended.
Safety note: This simple stop protects both the organizer and the wheelchair from damage during daily movements.
Step 12: Test Functionality and Fine‑Tune Adjustments
Invite the wheelchair user to interact with the completed organizer. Observe reach distance, ease of opening pockets, and stability while the wheelchair is in motion. Make any necessary adjustments to bracket positions, strap tension, or shelf height. Record the final settings for future reference.
Final check: Confirm that all components remain securely attached after a simulated week of use, ensuring long‑term reliability.
Tips & Pro Tips
- Use a spirit level for each bracket to guarantee a perfectly vertical alignment.
- Apply a non‑slip coating to the base of the vertical pipe to reduce movement on smooth flooring.
- Consider adding a small chalkboard panel for labeling each compartment.
- When using the Friendship Bracelet String Kit, braid multiple colors together for a stronger handle.
- Seal the diamond‑painting panel with a clear acrylic spray to protect the rhinestones from dust.
Troubleshooting
| Problem | Possible Cause | Solution |
|---|---|---|
| Pockets sag over time | Insufficient bracket support | Install additional mid‑level brackets or use thicker wooden dowels. |
| LED strip flickers | Loose battery connection | Secure the battery compartment with double‑sided tape and verify contact points. |
| Rhinestones detach from panel | Improper adhesive application | Re‑apply adhesive evenly and press firmly for at least 24 hours before use. |
Conclusion
By following the twelve steps outlined above, one can construct a versatile vertical reach organizer that enhances accessibility, preserves floor space, and adds a personal aesthetic touch. The integration of the Friendship Bracelet String Kit and the Diamond Painting Storage Box demonstrates how functional tools can also serve decorative purposes. Users are encouraged to adapt the designs to their unique environments, ensuring long‑term independence and satisfaction.
Products Mentioned in This Guide
Frequently Asked Questions
What materials are best for building vertical reach organizers for wheelchair users?
Use 1‑inch wooden dowels or PVC pipes, adjustable brackets, heavy‑duty Velcro, fabric panels, and clear acrylic sheets for a sturdy, low‑cost solution.
How can I securely attach organizers to the wall without damaging the surface?
Install wall anchors and adjustable brackets, then use screws with protective caps or removable adhesive strips designed for easy removal.
Are PVC pipes or wooden dowels more durable for vertical reach systems?
PVC pipes resist moisture and are lighter, while wooden dowels offer a classic look and higher load capacity; choose based on the environment and weight needs.
What tools are essential for assembling DIY vertical reach organizers?
A drill, screwdriver, measuring tape, level, and a saw (hand or circular) are sufficient for most projects.
How do I customize organizer height and pocket size for different needs?
Measure the user’s reach zone, then cut dowels or pipes to the desired height and attach fabric or acrylic pockets of varying dimensions using Velcro or hook‑and‑loop fasteners.