Introduction
Childproofing a kitchen is essential for families with infants or toddlers, yet it can present unique challenges for caregivers who have limited mobility. This guide explains how to create a safe, accessible cooking environment without sacrificing independence or convenience. Readers will learn systematic assessment techniques, practical installation methods, and product recommendations that require no drilling or heavy tools. By following the steps, caregivers can reduce the risk of accidents while maintaining a functional kitchen layout.
The kitchen is often the most hazardous room because it contains sharp knives, hot surfaces, and chemicals. For caregivers who rely on mobility aids, reaching high cabinets or bending to secure lower drawers can be difficult. Selecting tools that are easy to install, adjustable, and removable without damage is therefore crucial. The recommended products have been chosen for their adhesive‑based installation, which eliminates the need for screws or drills.
In addition to safety, this guide respects the aesthetic integrity of the kitchen. Many families prefer solutions that blend with existing décor, especially when renting or using shared spaces. The invisible and low‑profile designs discussed achieve both protection and visual harmony. Ultimately, the goal is to empower caregivers to protect children while preserving independence.
Each section of the guide provides clear, actionable instructions, explains why a particular product is useful, and offers professional tips to avoid common pitfalls. The information is based on verified Amazon data, including price, rating, and user feedback, ensuring that recommendations are reliable and cost‑effective.
What You'll Need
- Adhesive cabinet locks for lower drawers and cupboards (e.g., Vmaisi Adhesive Cabinet Locks).
- Invisible, spring‑loaded locks for upper cabinets (e.g., Benny Bradley's Invisible Cabinet Locks).
- Adjustable‑length locks for irregular cabinet sizes (e.g., Roocickee Adjustable Cabinet Locks).
- Non‑slip floor mats, child‑safe storage containers, and a basic toolkit (screwdriver, level, cleaning cloth).
Step 1: Assess the Kitchen Layout
The first step is to conduct a systematic walk‑through of the kitchen to identify high‑risk zones. Caregivers should note any cabinets that are within a child's reach, especially those containing knives, cleaning agents, or hot appliances. It is also important to record the height of each cabinet, the type of surface (smooth laminate versus textured wood), and any existing hardware that may interfere with adhesive locks.
Documenting these details on a simple sketch helps prioritize which areas need immediate attention. For example, a lower drawer that stores snacks should be locked first, while a high pantry may be addressed later. This assessment also reveals whether a particular lock type is required; adjustable straps are ideal for cabinets with non‑standard dimensions.
When the assessment is complete, caregivers can match each identified risk with an appropriate product. The Vmaisi Adhesive Cabinet Locks are well suited for standard‑size lower drawers because they attach without drilling and provide a visible deterrent. For upper cabinets that are out of reach, the Benny Bradley's Invisible Cabinet Locks offer a concealed solution that does not alter the cabinet’s appearance.
Finally, verify that the chosen locks are compatible with the surface material; the 3M adhesive used by all three products adheres best to clean, dry, and smooth surfaces. A quick wipe with an alcohol pad ensures optimal bonding.
Step 2: Secure Upper Cabinets with Invisible Locks
Upper cabinets pose a significant danger because children can pull themselves up on countertops to reach them. The Benny Bradley's Invisible Cabinet Locks provide a discreet, tool‑free solution that can be installed by caregivers with limited mobility.
Each lock features a longer hook arm that accommodates countertop overhangs, a common obstacle in modern kitchens. The adhesive surface is larger than previous models, delivering a pull‑tension capacity of at least 20 lb, which is sufficient to prevent a child from forcing the cabinet open. Installation requires only peeling the 3M backing and pressing the lock onto the interior side of the cabinet door.
Because the locks are spring‑loaded, an adult can open the cabinet with a single press of the latch, keeping one‑handed operation possible while holding a child or a grocery bag. The invisible design ensures that the kitchen’s aesthetic remains untouched, an important consideration for renters who must avoid permanent alterations.
After placement, allow the adhesive to cure for 24 hours before loading the cabinet with hazardous items. This waiting period maximizes bond strength and reduces the likelihood of premature detachment.
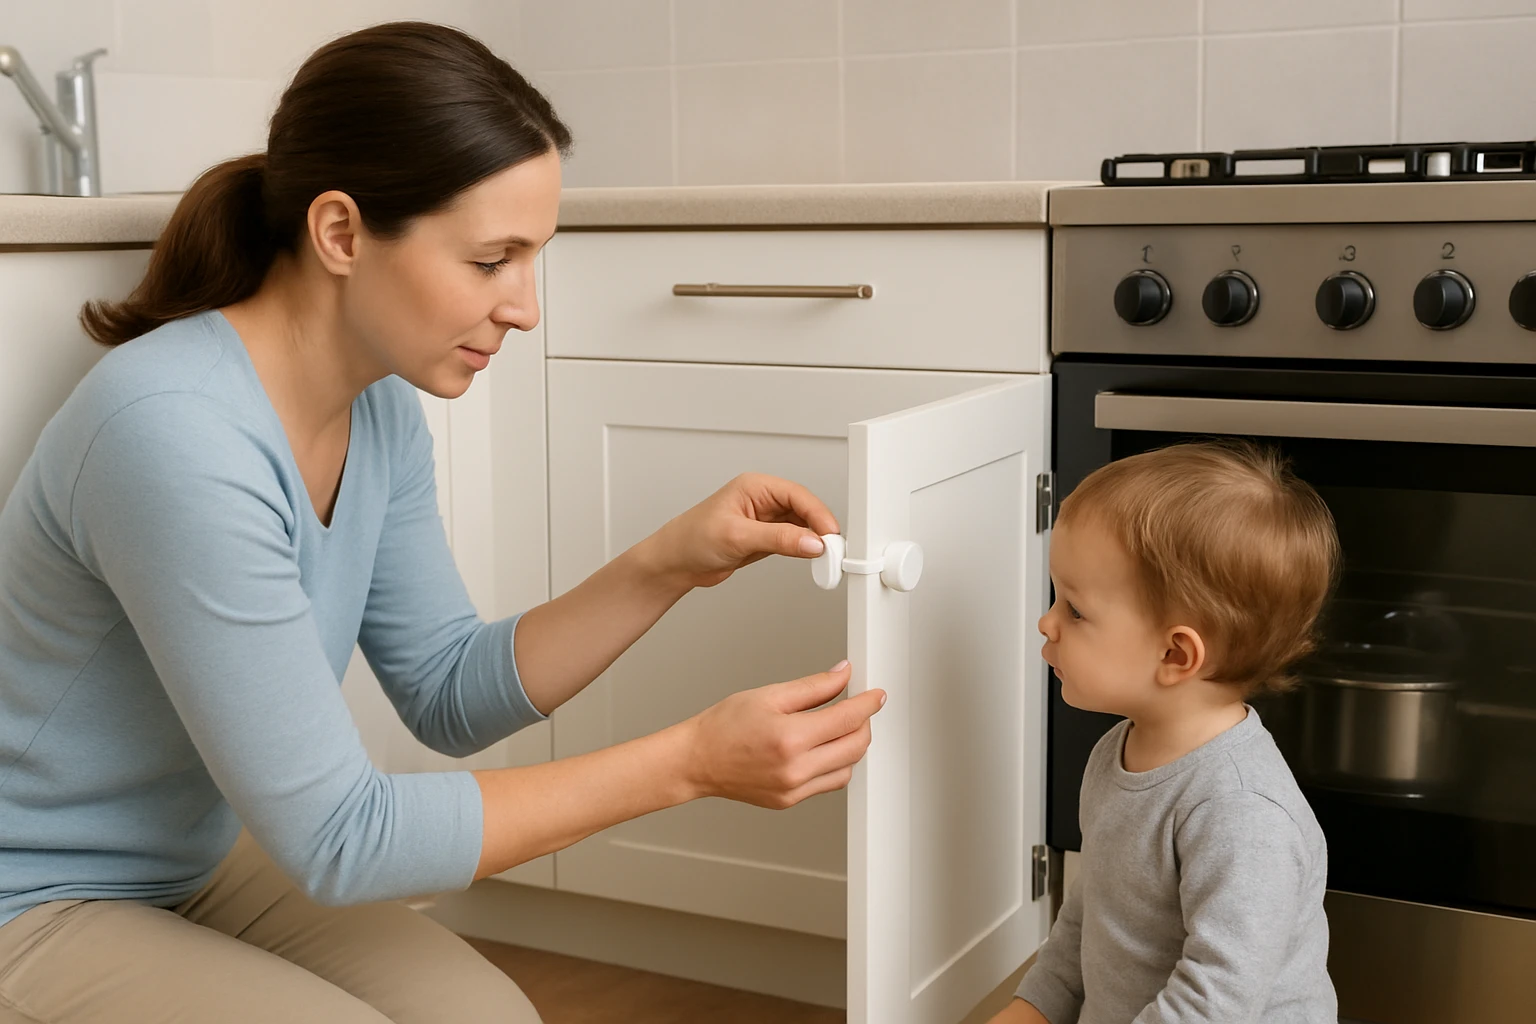
Step 3: Protect Lower Drawers Using Visible Strap Locks
Lower drawers are frequently accessed by toddlers who are learning to pull objects toward themselves. The Vmaisi Adhesive Cabinet Locks are ideal for this purpose because they attach without tools and provide an obvious visual cue that the drawer is locked.
Each pack contains six adjustable straps that can be tightened to fit a range of drawer widths. The product price is $8.99 and it holds a rating of 4.4 / 5.0 based on 12,580 reviews, indicating strong customer satisfaction. Users have reported that the locks are easy to install and remove, although they advise applying the adhesive with moderate pressure and avoiding overtightening during installation.
To install, clean the drawer surface, peel the adhesive backing, and align the strap so that the latch faces outward. Press firmly for 30 seconds, then adjust the strap to achieve a snug fit without excessive tension. The visible lock acts as a deterrent, teaching children that certain areas are off‑limits.
Because the Vmaisi locks are removable, caregivers can reposition them as the child grows or as the kitchen layout changes, preserving flexibility and minimizing permanent modifications.
Step 4: Use Adjustable Locks for Irregular Cabinets
Some kitchens feature cabinets with non‑standard depths or angled doors, which may not accommodate fixed‑size locks. The Roocickee Adjustable Cabinet Locks solve this problem with a length that can be set between 3.9 and 7.6 inches.
These locks are priced at $6.83 and have earned a rating of 4.6 / 5.0 from 496 reviewers, highlighting their durability and ease of use. The strap material is tear‑resistant, and the 3M adhesive ensures a strong bond that can withstand repeated pulling by a curious child.
Before installation, measure the interior width of the cabinet and adjust the strap accordingly. The adjustable design allows caregivers to achieve a precise fit, reducing the risk of the lock slipping or detaching under stress. Apply the adhesive, press the lock into place, and allow 24 hours for full cure.
These locks are versatile enough to be used on refrigerator doors, trash cans, and even toilet seats, providing a comprehensive safety network throughout the home.
Step 5: Install Slip‑Resistant Mats and Floor Safety Features
Beyond cabinet security, floor safety is paramount, especially for caregivers who use walkers or wheelchairs. Non‑slip mats placed in front of the stove, sink, and refrigerator reduce the likelihood of falls. Choose mats with a low‑profile edge to prevent tripping.
When positioning mats, ensure they are firmly adhered to the floor using a removable adhesive pad if the surface is smooth. This prevents the mat from shifting during cleaning, which could create a new hazard. Caregivers should also keep the floor clear of clutter, storing cleaning supplies in locked cabinets as described in earlier steps.
Regularly inspect the mats for wear and replace them when the surface becomes glossy, as this indicates loss of traction. Combining floor safety with cabinet locks creates a layered protection strategy that addresses both vertical and horizontal risks.
Step 6: Organize Hazardous Items in Child‑Safe Containers
Even with locked cabinets, some hazardous items may need to remain accessible for adult use, such as medication bottles or cleaning agents. Store these items in clearly labeled, child‑proof containers that feature a twist‑lock or push‑down mechanism.
Place the containers on a high shelf that is already secured with invisible locks, or keep them inside a locked pantry. This double‑layered approach ensures that a child cannot reach the item even if a lock fails. When selecting containers, verify that they meet BPA‑free standards to avoid chemical exposure.
Label each container with both a pictogram and text to assist caregivers with limited vision or literacy challenges. This practice also supports older children who are learning safety habits.
Step 7: Create Accessible Work Zones
Designing the kitchen layout to accommodate limited mobility reduces the need for frequent bending or reaching, which can be unsafe when children are present. Position frequently used utensils, plates, and cooking tools within a comfortable arm’s reach, preferably on a countertop that is already secured.
Use pull‑out shelves or rolling carts that can be locked in place with the same adhesive locks described earlier. This keeps the workspace organized while preventing accidental movement that could cause spills.
Ensure that any appliances with removable parts, such as a toaster oven, are stored on a stable surface and secured with a lock if the appliance door can be opened by a child. By integrating safety into the functional design, caregivers maintain independence while protecting the child.
Tips & Pro Tips
- Always clean the surface with isopropyl alcohol before applying adhesive to maximize bond strength.
- Test each lock after installation by applying a gentle pull; the lock should resist at least 15 lb of force.
- For renters, keep the original adhesive pads in case the locks need to be removed at the end of the lease.
- Combine visual cues (bright lock colors) with verbal reminders to reinforce safety habits for the child.
- Schedule a quarterly safety audit to verify that all locks remain secure and that no new hazards have emerged.
Troubleshooting
Problem: Adhesive does not stick to a glossy surface.
Solution: Lightly sand the area with fine‑grain sandpaper, clean the dust, and reapply the lock.
Problem: Lock detaches after repeated use.
Solution: Replace the adhesive pad with a fresh 3M strip, ensuring the surface is completely dry before re‑installation.
Problem: Child can still open a locked drawer.
Solution: Verify that the strap is tightened correctly; overtightening can reduce adhesive contact, while undertightening may allow the latch to slip.
Conclusion
Childproofing an accessible kitchen requires careful planning, appropriate tools, and ongoing vigilance. By following the seven steps outlined above, caregivers with limited mobility can secure cabinets, protect floors, and organize hazardous items without compromising independence or aesthetics. The recommended adhesive‑based locks—Vmaisi Adhesive Cabinet Locks, Benny Bradley's Invisible Cabinet Locks, and Roocickee Adjustable Cabinet Locks—provide reliable, tool‑free solutions that adapt to a variety of cabinet sizes and surface types. Implementing these measures creates a safer environment for children while empowering caregivers to maintain full functionality in the heart of the home.
Products Mentioned in This Guide
Frequently Asked Questions
What are the first steps to assess kitchen safety for limited‑mobility caregivers?
Start by listing high‑risk zones (stove, knives, chemicals) and note any cabinets or drawers that require reaching or bending, then prioritize those that need barriers or easier access.
Which childproofing products can be installed without drilling?
Adhesive cabinet locks, magnetic stove guards, peel‑and‑stick drawer stops, and tension‑mounted shelf brackets all attach without screws or tools.
How can I keep sharp knives out of reach while still being accessible for cooking?
Use a magnetic knife strip mounted at waist height or a pull‑out knife block with a soft‑close mechanism that stays locked when not in use.
What are safe ways to store cleaning chemicals in an accessible kitchen?
Place them on high, locked shelves or in child‑proof cabinets with latch‑type locks, and label each container clearly with large, readable icons.
How do I maintain a tidy, aesthetic look after adding childproofing devices?
Choose products that match your kitchen finish—clear silicone locks, brushed‑metal brackets, or colour‑coordinated adhesive strips—to blend safety features with décor.