How to Do One‑Handed Baking: 10 Easy Recipes & Beginner Tips
Introduction
One‑handed baking empowers individuals with limited hand strength to create delicious treats without assistance. This guide explains ten beginner‑friendly recipes and the essential techniques that make independent baking possible. Readers will learn how to adapt standard kitchen tasks, select appropriate tools, and avoid common pitfalls. By the end of the article, one will be able to bake muffins, cookies, and pastries using only one hand.
What You'll Need
- Adaptive cutting board for secure food placement
- Non‑stick silicone muffin pan for easy release
- Large silicone pastry mat for stable dough work
- Stainless‑steel flour duster for precise dusting
- Standard mixing bowls, measuring cups, and a handheld electric mixer (optional)
Step 1: Prepare a Stable Workspace
Begin by clearing a countertop and placing a non‑slip surface to prevent movement during preparation. The Folksy Silicone Pastry Mat XL provides a large, grip‑enhanced area that stays flat even when dough is rolled. Its 0.7 mm thickness offers durability while the nonslip backside ensures the mat does not shift, reducing the risk of accidental spills. The mat is rated 4.8 stars by more than twenty‑six thousand reviewers and costs $‑. It is safe from –30 °F to 470 °F, making it suitable for both dough work and oven lining.
Step 2: Position the Adaptive Cutting Board
Place the Etac Adaptive Cutting Board on the pastry mat to create a secure cutting surface. This board features stainless‑steel spikes and adjustable jaws that hold bowls, fruits, or vegetables firmly, allowing one‑handed slicing or grating. The suction feet anchor the board to the countertop, preventing wobble while one hand operates a knife or peeler. Priced at $78.99 with a 4.4‑star rating, the board is an investment in safety and independence.
Step 3: Measure Ingredients Using One‑Handed Techniques
Utilise a set of measuring cups that feature easy‑grab handles; fill each cup and tap it gently to level the ingredient without requiring a second hand. For liquid measurements, a pour‑spout measuring cup with a spout that can be stabilized on the cutting board works well. When measuring flour, use the HULISEN Flour Duster to sift excess flour directly onto the work surface, avoiding the need for a separate sifter. The duster’s perforated half distributes flour evenly, while the solid half allows precise scooping. It is constructed from 18/8 stainless steel, dishwasher safe, and carries a 4.8‑star rating from over five thousand reviewers for $6.29.
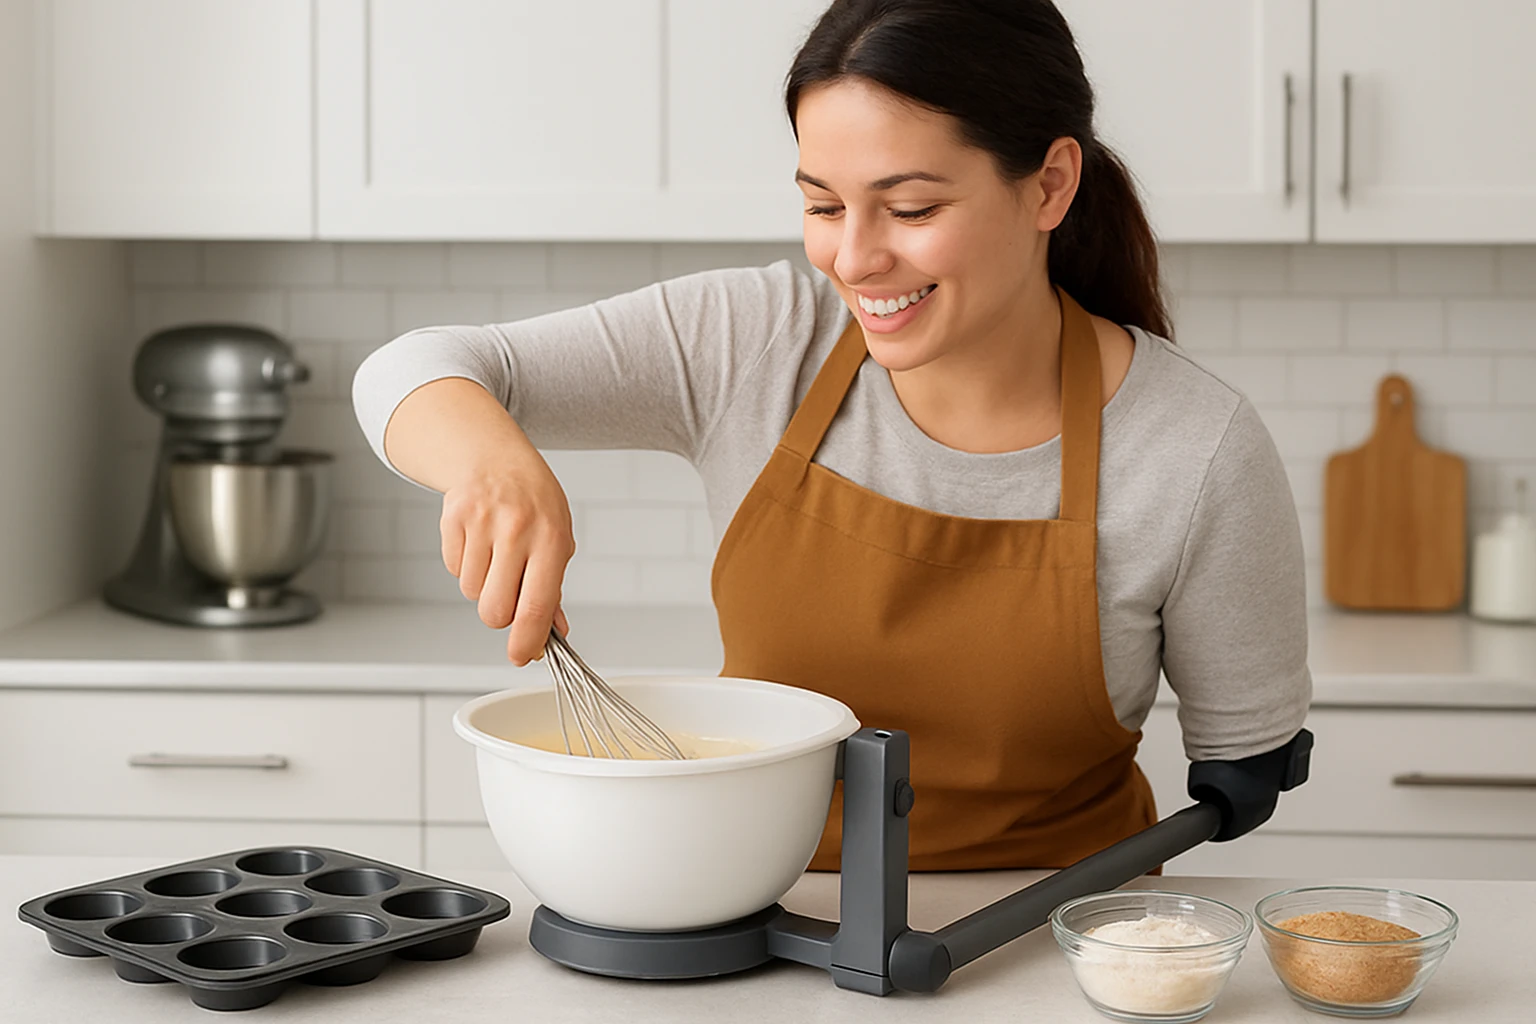
Step 4: Mix Batter with One Hand
For liquid‑heavy batters, a handheld electric mixer with a single‑hand grip simplifies the mixing process. Hold the mixing bowl steady on the adaptive cutting board while the mixer blends the ingredients. If an electric mixer is unavailable, a sturdy whisk can be anchored in the board’s jaws, allowing one‑handed rotation. Ensure the bowl is not overfilled; a bowl that is half full reduces the chance of splatter when the mixer is activated.
Step 5: Prepare the Silicone Muffin Pan
Arrange the CAKETIME Silicone Muffin Pan on a sturdy metal tray to provide support while filling the cups. The pan’s non‑stick surface releases baked goods effortlessly, and its flexible silicone material can be bent slightly to pour batter using a spatula held in one hand. Each cup measures 2.75 inches in diameter and 1.1 inch deep, producing standard‑size muffins. The pan tolerates temperatures from –104 °F to 446 °F, making it suitable for oven, microwave, and freezer use. It is priced at $7.99 and enjoys a 4.5‑star rating from over twenty‑six thousand reviewers.
Step 6: Fill the Muffin Cups Efficiently
Use a silicone spatula to scoop batter from the mixing bowl and guide it into the silicone cups. Because the pan is flexible, gently press the spatula against the side of the cup to control flow without spilling. Fill each cup no higher than two‑thirds full to allow for rising during baking. The non‑stick coating ensures that the batter slides out smoothly when the pan is lifted after baking.
Step 7: Bake with Confidence
Place the metal tray with the silicone pan onto the middle rack of a preheated oven set to the recipe’s temperature. Monitor the bake time using a timer; the oven’s heat will not affect the silicone pan due to its high temperature resistance. When the muffins are golden and a toothpick inserted into the centre emerges clean, remove the tray using oven mitts. Allow the muffins to cool on the tray for a few minutes before gently lifting the pan to release the baked goods.
Step 8: Dust Finished Baked Goods
After cooling, use the HULISEN Flour Duster to apply a light coating of powdered sugar or cocoa powder. Hold the duster by its spring‑operated handle and shake gently over the muffins; the perforated side creates an even dusting, while the solid side can be used to target specific areas. This tool eliminates the need for a second hand to hold a separate sifter, streamlining the finishing process.
Step 9: Store Tools for Future Use
Allow the silicone pan and pastry mat to air‑dry completely before storing them in a drawer or cabinet. The adaptive cutting board can be cleaned in the dishwasher; its removable spike plate can be stored separately to save space. Keep the flour duster in a narrow drawer where it will not roll away, and ensure the spring mechanism remains free of food debris.
Step 10: Explore Additional One‑Handed Recipes
Having mastered the basic muffin recipe, one can expand to other one‑handed creations such as single‑serve cheesecakes, mini quiches, and rolled cookies. The same tools—silicone pan, pastry mat, adaptive board, and flour duster—apply across these recipes, providing consistency and confidence. Experiment with flavors, fillings, and toppings while maintaining the same safety principles outlined in this guide. Document successes and challenges to refine technique over time.
Tips & Pro Tips
- Secure the silicone pan to a metal tray before filling; this prevents the pan from collapsing under the weight of the batter.
- When using the adaptive cutting board, adjust the jaws to a comfortable width to accommodate different food sizes.
- Use the non‑stick side of the flour duster for powdered sugar and the perforated side for flour to achieve optimal distribution.
- For extra stability, place a damp kitchen towel under the pastry mat; this adds friction without damaging the surface.
- Clean the silicone pan with warm, soapy water; avoid abrasive scrubbers that could damage the non‑stick coating.
Troubleshooting
| Problem | Possible Cause | Solution |
|---|---|---|
| Batter spills over the edge of the pan | Overfilling the cups | Fill each cup only to two‑thirds capacity; use a smaller spoon for precise portions. |
| Cookies stick to the pastry mat | Insufficient non‑stick coating or high sugar content | Lightly dust the mat with flour using the duster before placing dough. |
| Board shifts during cutting | Insufficient suction or uneven surface | Ensure the countertop is clean and dry; press the suction cups firmly before starting. |
Conclusion
One‑handed baking is achievable with the right combination of adaptive tools and thoughtful techniques. By following the ten steps outlined above, one can produce a variety of baked goods safely and independently. The recommended products—CAKETIME Silicone Muffin Pan, Folksy Silicone Pastry Mat XL, Etac Adaptive Cutting Board, and HULISEN Flour Duster—enhance efficiency and reduce reliance on a second hand. Continued practice will build confidence, allowing one to explore more complex recipes and enjoy the satisfaction of homemade baking.
Products Mentioned in This Guide
Frequently Asked Questions
What adaptive tools are essential for one‑handed baking?
A non‑slip cutting board, silicone pastry mat, non‑stick muffin pan, and a stainless‑steel flour duster keep ingredients stable and easy to handle.
Can I use a regular electric mixer with one hand?
Yes, a handheld electric mixer with a comfortable grip can be operated with one hand when the bowl is secured on a non‑slip surface.
How do I prevent dough from sticking while working with one hand?
Use a large silicone pastry mat and lightly dust it with a flour duster to keep dough from adhering and allow smooth rolling.
What safety tips should I follow when baking with one hand?
Keep the workspace clear, use non‑slip mats, secure bowls with a damp towel, and always turn off appliances before cleaning.
Are the recipes in the guide suitable for beginners with limited hand strength?
Yes, the ten recipes use simple steps, minimal mixing, and easy‑release pans to ensure success for beginners.