How to Modify an RV Kitchen for Accessibility: Step‑by‑Step Mobility‑Friendly Upgrades for Wheelchair Users
Introduction
Designing an RV kitchen that accommodates a wheelchair user requires careful planning, thoughtful selection of tools, and precise execution. This guide will teach the reader how to assess current layouts, select appropriate accessories, and install modifications that enhance safety, independence, and comfort. By following the steps below, one can transform a cramped, conventional kitchen into a functional, accessible space without compromising the RV’s aesthetic or weight limits.
The value of these upgrades lies in reducing the physical strain associated with reaching, bending, and maneuvering around obstacles. An accessible kitchen not only improves daily living for the primary user but also increases the resale value of the RV. The guide balances practical do‑it‑yourself methods with professional‑grade product recommendations, ensuring that each recommendation is justified by its features, price, and user ratings.
What You’ll Need
- Measuring tape, level, and pencil for layout planning.
- Power drill with screwdriver bits.
- Adjustable mounting brackets and hardware (stainless steel preferred).
- Non‑slip flooring mat or rubberized underlay.
- Clear‑path lighting strips.
- Aujen Expandable Silverware Organizer for drawer organization.
Step 1: Evaluate Space and Mobility Requirements
The first step is to measure the interior width, depth, and height of the kitchen area while the wheelchair is positioned at a comfortable reach distance (typically 24‑30 inches from the countertop). Record the dimensions of existing cabinets, drawers, and appliances. Identify any protruding handles, narrow aisles, or low‑lying shelves that impede wheel‑chair maneuverability.
Why this matters: Accurate measurements prevent the need for costly re‑work later and allow the selection of products that fit within the limited RV envelope. For example, an expandable drawer organizer can adapt to varying drawer widths, ensuring a seamless fit without cutting the drawer.
Step 2: Install Non‑Slip Flooring Underlay
Place a thin, rubberized underlay on the kitchen floor before repositioning any appliances. Cut the material to fit around the stove, sink, and refrigerator, leaving a flush surface for the wheelchair wheels. Secure the edges with double‑sided tape designed for RV interiors.
Benefits: A non‑slip surface reduces the risk of wheel slippage when the user pushes the chair forward or backward, especially on wet kitchen floors. The underlay also dampens vibrations, protecting delicate appliances during travel.
Step 3: Lower Countertop Height or Add a Pull‑Out Work Surface
If the existing countertop exceeds 34 inches, consider installing a removable pull‑out work surface that slides under the main counter when not in use. Use sturdy aluminum rails and a lightweight composite top that can support typical kitchen tasks.
Why this product is useful: A pull‑out surface provides a work height that matches the wheelchair user’s seated position, eliminating the need to stand or reach upward. The lightweight design preserves the RV’s weight budget.
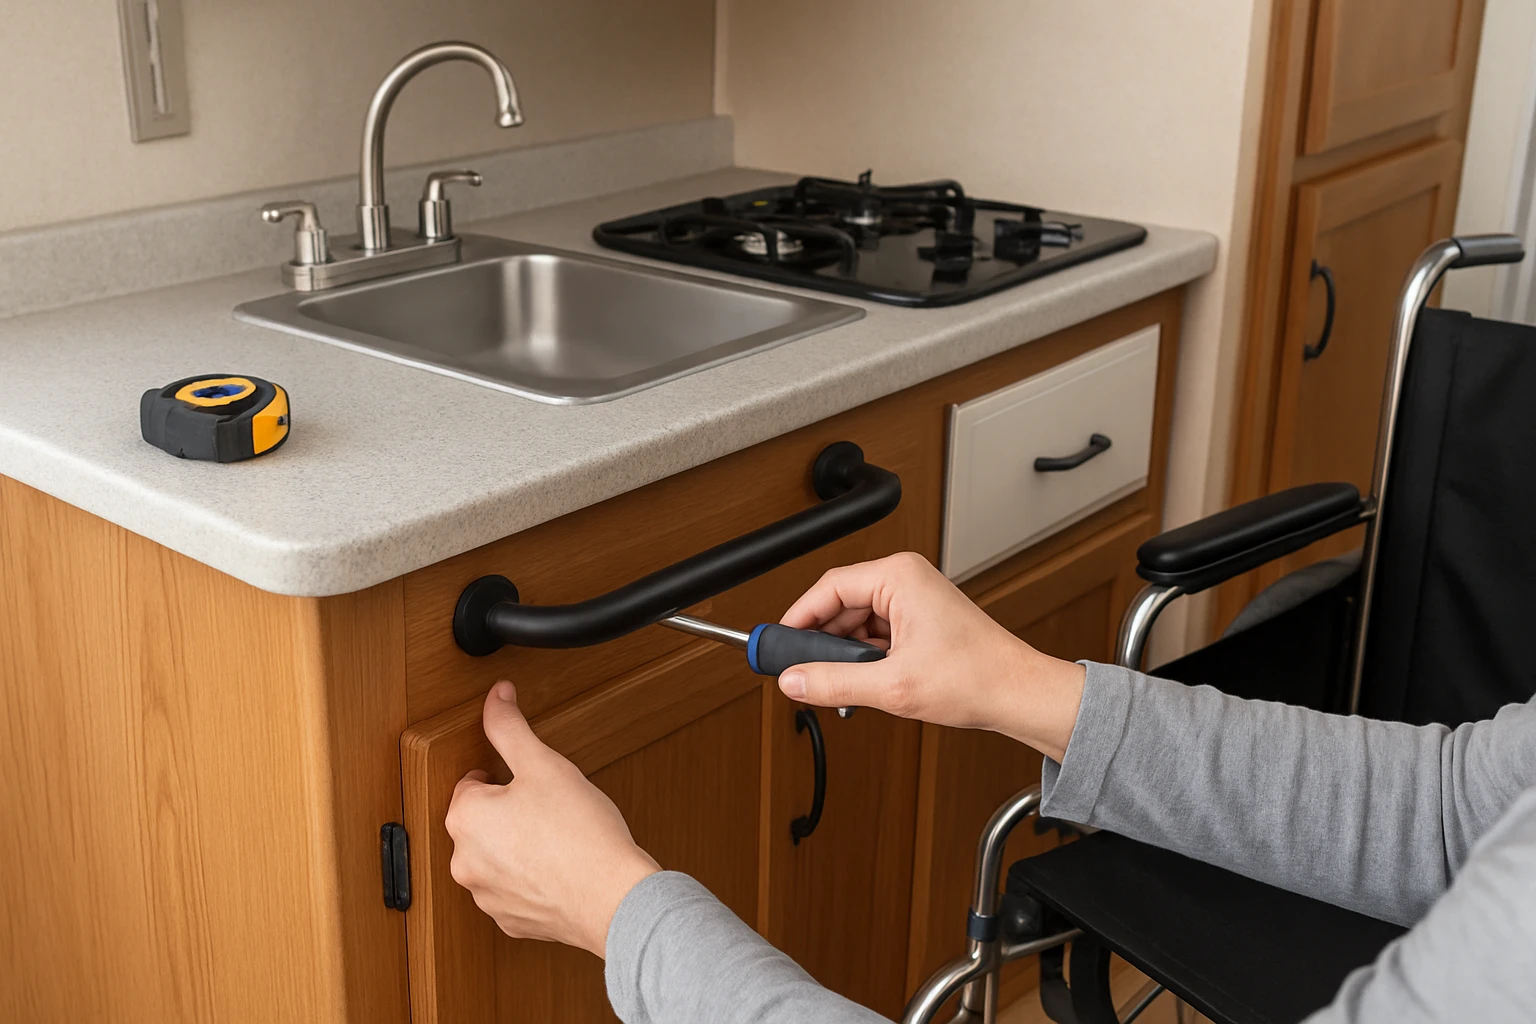
Step 4: Re‑Configure Cabinet Handles and Drawer Fronts
Replace traditional round knobs with ergonomic, pull‑type handles that extend outward at least 2 inches. This modification allows the user to grasp the handle without twisting the wrist. For drawers, install the Aujen Expandable Silverware Organizer to keep utensils orderly and within easy reach.
Product details: The Aujen organizer expands from 10.2" to 19.7" wide, offering six main compartments and two side slots. It is crafted from BPA‑free polypropylene, rated 4.6/5.0 stars by 5,566 reviewers, and costs $16.99. Its adjustable width ensures a snug fit in most RV drawers, eliminating the need for custom cutting.
Installation tip: Place the organizer in the largest drawer, align the anti‑sliding pads with the drawer walls, and adjust the width until the compartments are firmly locked in place. This creates a stable, organized space for forks, knives, and kitchen tools, reducing the time spent searching for items.
Step 5: Add Accessible Storage Solutions
Install pull‑out pantry shelves at a height of 30‑36 inches, using telescoping rails that allow the shelf to glide out fully. Secure the rails to the sidewalls with stainless‑steel screws to prevent rust in humid environments.
Why this matters: Pull‑out shelves keep canned goods, spices, and small appliances within arm’s reach, eliminating the need to climb onto a stool. The telescoping mechanism provides a smooth glide, even when the shelf is fully loaded.
Step 6: Upgrade Lighting for Visibility
Integrate LED strip lighting beneath cabinets and above the countertop. Choose a dimmable, battery‑operated system with a remote control, allowing the user to adjust brightness without leaving the seat.
Benefits: Adequate lighting reduces eye strain and helps the user locate items quickly. LED strips consume minimal power, preserving the RV’s electrical budget.
Step 7: Ensure Clear Pathways and Door Clearance
Remove any decorative obstacles that narrow the aisle between the sink and stove. If the RV door swing interferes with the kitchen layout, install a sliding or pocket door that opens outward, providing a wider entry point for the wheelchair.
Practical tip: Measure the door opening when the wheelchair is positioned parallel to the wall; ensure at least 32 inches of clearance for comfortable navigation.
Step 8: Secure Appliances to Prevent Movement
Fasten the microwave, toaster, and other portable appliances to the countertop using adjustable brackets. Use vibration‑absorbing pads beneath each appliance to minimize rattling while the RV is in motion.
Why this is essential: Secured appliances remain stable during travel, reducing the risk of spills or injuries when the user reaches for a device after a sudden stop.
Tips & Pro Tips
- Test each modification with the wheelchair before finalizing the installation; small adjustments are easier early in the process.
- Use lightweight aluminum or composite materials whenever possible to keep the RV’s overall weight within manufacturer limits.
- Label drawers and shelves with high‑contrast, tactile stickers to aid users with limited vision.
- Consider a portable, battery‑powered reacher tool for items stored above eye level; it adds flexibility without permanent alterations.
Troubleshooting
Problem: The drawer organizer does not stay in place and slides when the wheelchair is moved.
Solution: Verify that the anti‑sliding pads are fully pressed against the drawer walls. If the drawer is deeper than 19.7 inches, place a thin rubber strip behind the organizer to increase friction.
Problem: LED strip lighting flickers when the RV is on the road.
Solution: Use a voltage stabilizer designed for RVs, or switch to a DC‑compatible LED system that runs directly from the battery.
Conclusion
By following these eight steps, one can convert a standard RV kitchen into a wheelchair‑friendly environment that promotes independence, safety, and comfort. The modifications focus on ergonomic reach, secure storage, and clear pathways, while the recommended Aujen Expandable Silverware Organizer exemplifies a cost‑effective tool that solves a common organization challenge. Readers are encouraged to assess their unique layout, prioritize the upgrades that address the most pressing barriers, and enjoy a more accessible travel experience.
Products Mentioned in This Guide

Frequently Asked Questions
What are the first steps to assess an RV kitchen for wheelchair accessibility?
Measure aisle width, countertop height, and appliance clearances, then compare them to wheelchair standards (typically 30‑36 inches of clear space).
Which modifications most improve reachability in a small RV kitchen?
Install pull‑down shelves, lower countertop sections, and swivel or slide‑out cabinets to keep items within arm’s reach.
Can I replace standard cabinets with accessible ones without exceeding RV weight limits?
Yes, choose lightweight aluminum or composite cabinets and verify the RV’s payload rating before installation.
What safety features should be added for wheelchair users in an RV kitchen?
Add non‑slip flooring, rounded countertop edges, and easy‑reach fire‑extinguishers or shut‑off switches.
Do I need professional help to install a wheelchair‑friendly sink?
A basic drop‑in sink can be DIY, but for custom countertop cuts or plumbing reroutes, hiring a qualified RV technician is recommended.