Introduction
In many households, faded or low‑visibility stove knobs can lead to accidental burns, over‑cooking, or wasted energy. This guide teaches the reader how to design, create, and install tactile, high‑contrast markers that improve safety and usability without replacing the entire appliance. By the end of the article, one will understand the materials required, the precise steps for preparation and application, and how to maintain the markers for long‑term durability. The techniques described are practical, cost‑effective, and suitable for both gas and electric cooktops.
What You'll Need
- Cleaning supplies: isopropyl alcohol, lint‑free cloths, mild dish soap.
- High‑contrast decal stickers such as Hallmers Oven Knob Decal Stickers or Hileapx Stove Knob Decal Set.
- Fine‑point paint pens for tactile texture: TFIVE White Acrylic Paint Pens and/or JusArt 24 Acrylic Paint Markers.
- Small ruler or measuring tape, masking tape, and a steady hand.
- Optional: clear‑coat spray for extra protection.
Step 1: Assess Existing Controls and Safety Needs
Begin by examining each knob on the stove or oven. Identify which knobs have worn or illegible markings, and note the size of each knob to ensure the chosen decals will fit. Measuring the diameter with a ruler helps avoid purchasing a decal set that is too small or excessively large. This assessment also reveals whether tactile enhancements, such as raised paint lines, are necessary for users with visual impairments.
Step 2: Clean and Prepare the Knob Surfaces
A clean surface is essential for reliable adhesion of decals and paint. Remove any grease, dust, or residue by wiping each knob with a cloth dampened with isopropyl alcohol; allow the surface to dry completely. For stubborn grime, a mild dish‑soap solution followed by a thorough rinse works well, but be sure to dry the knobs before proceeding. Proper preparation prevents bubbling, peeling, or premature wear of the markers.
Step 3: Choose High‑Contrast Decal Designs
High‑contrast colors improve visibility for all users, especially in low‑light kitchens. The Hallmers Oven Knob Decal Stickers provide a black‑print on a clear adhesive background, offering a sleek modern look while preserving the original knob aesthetics. Each sheet includes eight individual stickers priced at $17.50 with a 4.3‑star rating, and the universal compatibility ensures they fit most stovetops and ovens.
Alternatively, the Hileapx Stove Knob Decal Set features black symbols on a silver background, priced at $9.99 with a perfect 5‑star rating from two reviewers. These decals are designed for knobs up to 2.4 inches, making them ideal for standard residential ranges. Both options are easy to apply, but the Hileapx set includes three sheets, offering more stickers for larger kitchens.
Step 4: Apply the Decals Precisely
Start by peeling the backing paper from the chosen decal, being careful not to touch the adhesive side. Align the decal with the knob’s center mark; many decals include a small cut‑out to fit around the knob stem. Gently press the decal onto the surface, smoothing from the center outward to eliminate air bubbles. If the decal does not adhere perfectly, re‑wet the surface lightly with a dab of alcohol and reposition.
Because the Hallmers stickers are clear‑backed, they blend seamlessly with the knob’s material, while the Hileapx silver background provides a subtle visual cue without overwhelming the appliance’s design. Both products promise resilient adhesion and long‑lasting performance, ensuring the markers remain legible through routine cleaning.
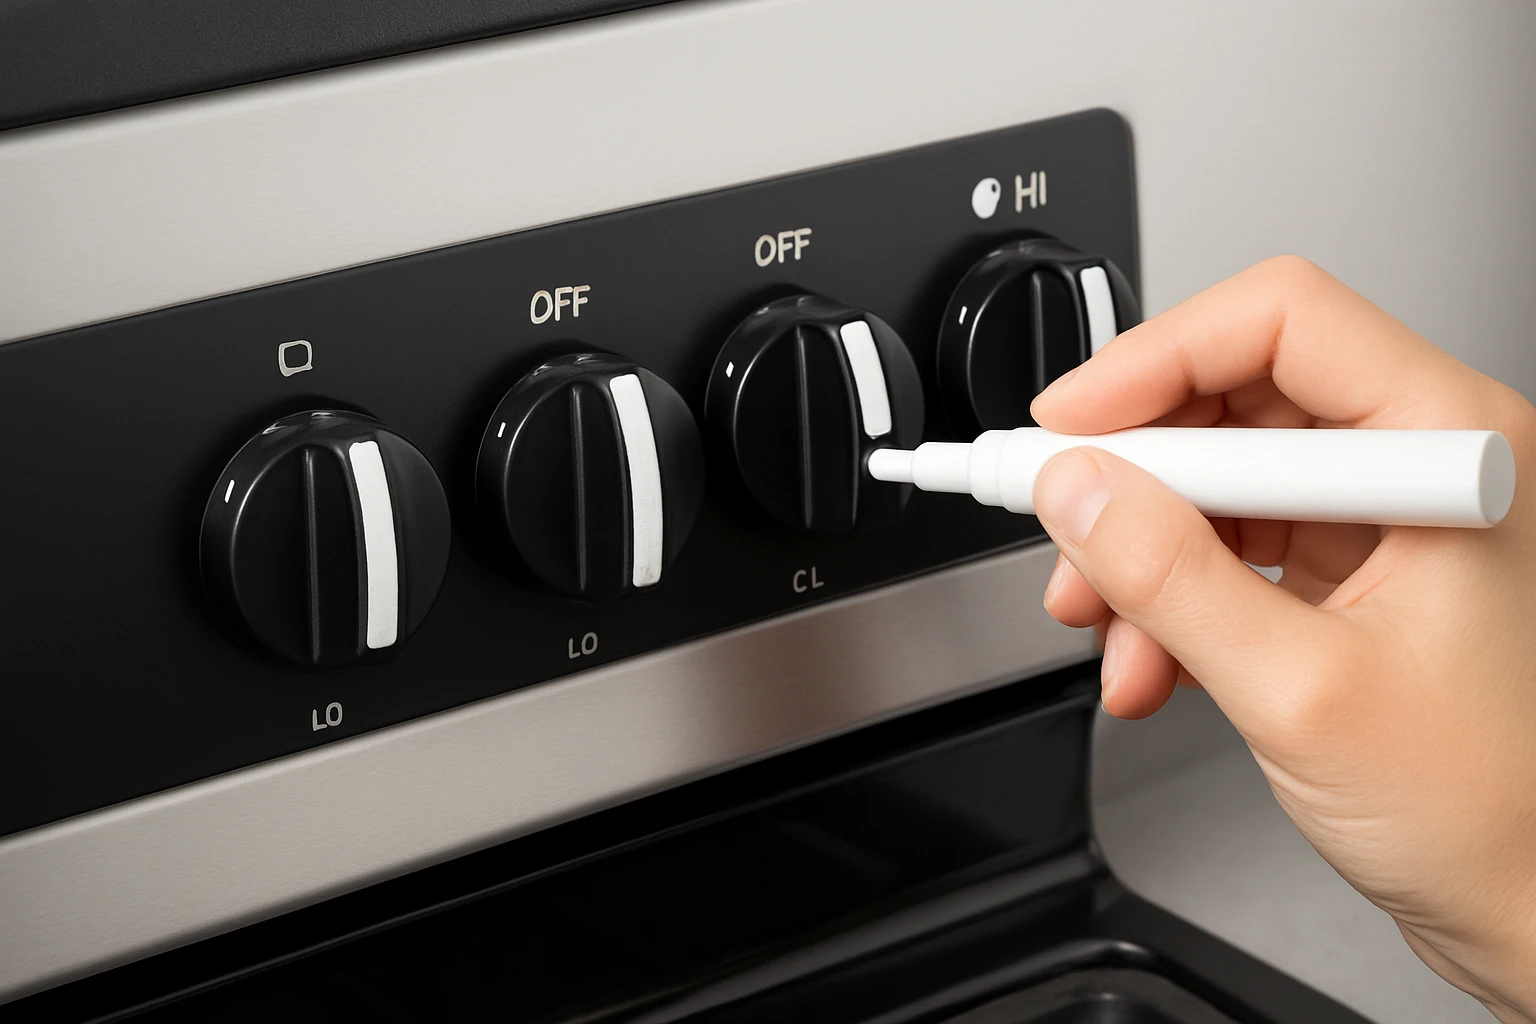
Step 5: Add Tactile Texture with Paint Pens
Visual contrast alone may not suffice for users with limited sight; tactile feedback offers an additional safety layer. The TFIVE White Acrylic Paint Pens deliver a fine 0.7 mm tip that creates precise, raised lines when applied to the decal surface. Priced at $6.99 and rated 4.2 stars by over 1,700 reviewers, these pens are acid‑free, waterproof, and quick‑drying, making them suitable for kitchen environments.
For broader strokes or color accents, the JusArt 24 Acrylic Paint Markers include dual tips (1 mm fine tip and 1‑5 mm brush tip). Although primarily marketed for art projects, the markers work on metal, glass, and ceramic surfaces, providing a durable tactile ridge that can be felt with a fingertip. The set costs $6.64 and holds a 4.6‑star rating, offering a versatile palette for those who prefer color‑coded tactile cues.
To apply, draw a thin line or dot along the edge of each decal, allowing the paint to dry for at least five minutes before touching the knob. The raised paint creates a subtle bump that can be felt even when the user’s hand is wet, reducing the risk of mis‑setting the burner.
Step 6: Seal and Test the Markers
After the paint has dried, protect the new markings with a clear‑coat spray designed for metal surfaces. A light mist applied from a distance of 12 inches creates a thin protective film that resists moisture and heat exposure. Allow the sealant to cure for 24 hours before using the stove to ensure full adhesion.
Finally, test each knob by turning it through its full range of motion. Verify that the visual contrast is clear, the tactile ridge is noticeable, and the decal remains securely attached. Conduct a brief cooking trial—such as simmering water—to confirm that the markers do not interfere with knob operation or safety mechanisms.
Tips & Pro Tips
- Work in a well‑ventilated area when using alcohol or clear‑coat spray to avoid inhaling fumes.
- Apply decals in a low‑light environment to better see the contrast and ensure proper alignment.
- For maximum durability, avoid abrasive scrubbers; instead, clean the knobs with a soft sponge and mild detergent.
- If the kitchen experiences frequent steam, consider a heat‑resistant clear sealant to prolong decal life.
- Use masking tape to create straight guide lines for paint pen application, ensuring consistent tactile patterns.
Troubleshooting
Decal bubbles or peeling: Re‑clean the surface with isopropyl alcohol, let it dry completely, and re‑apply the decal using a credit‑card to smooth out bubbles.
Paint does not adhere: Ensure the decal surface is completely dry; a light mist of primer designed for plastics can improve adhesion.
Markers fade after cleaning: Apply a second clear‑coat layer after the paint dries, and avoid harsh chemical cleaners on the knobs.
Conclusion
By following these six steps, one can transform ordinary stove knobs into high‑contrast, tactile controls that significantly reduce cooking accidents. The combination of durable decals and fine‑point paint pens offers a cost‑effective solution that is both visually striking and physically perceptible. Regular maintenance—cleaning with mild agents and occasional resealing—will keep the markers functional for years. Implementing these enhancements not only improves safety but also adds a personalized, modern touch to any kitchen.
Products Mentioned in This Guide
Frequently Asked Questions
What are tactile high‑contrast stove markers and why are they useful?
They are textured, brightly colored stickers or paint applied to stove knobs to improve visibility and grip, reducing accidental burns and cooking errors.
Which materials are needed to create and install the markers?
You need cleaning supplies (isopropyl alcohol, lint‑free cloths, dish soap), high‑contrast decal stickers, and fine‑point paint pens for tactile texture.
How do I prepare the stove knobs before applying the markers?
Clean the knobs thoroughly with isopropyl alcohol and a lint‑free cloth, removing grease and residue so the stickers or paint adhere securely.
Can these markers be used on both gas and electric cooktops?
Yes, the stickers and paint pens work on most metal or plastic stove knobs found on gas and electric ranges.
How can I maintain the markers for long‑term durability?
Periodically clean the knobs with mild soap and avoid abrasive cleaners; reapply stickers or touch up paint if wear becomes noticeable.